Summarize with
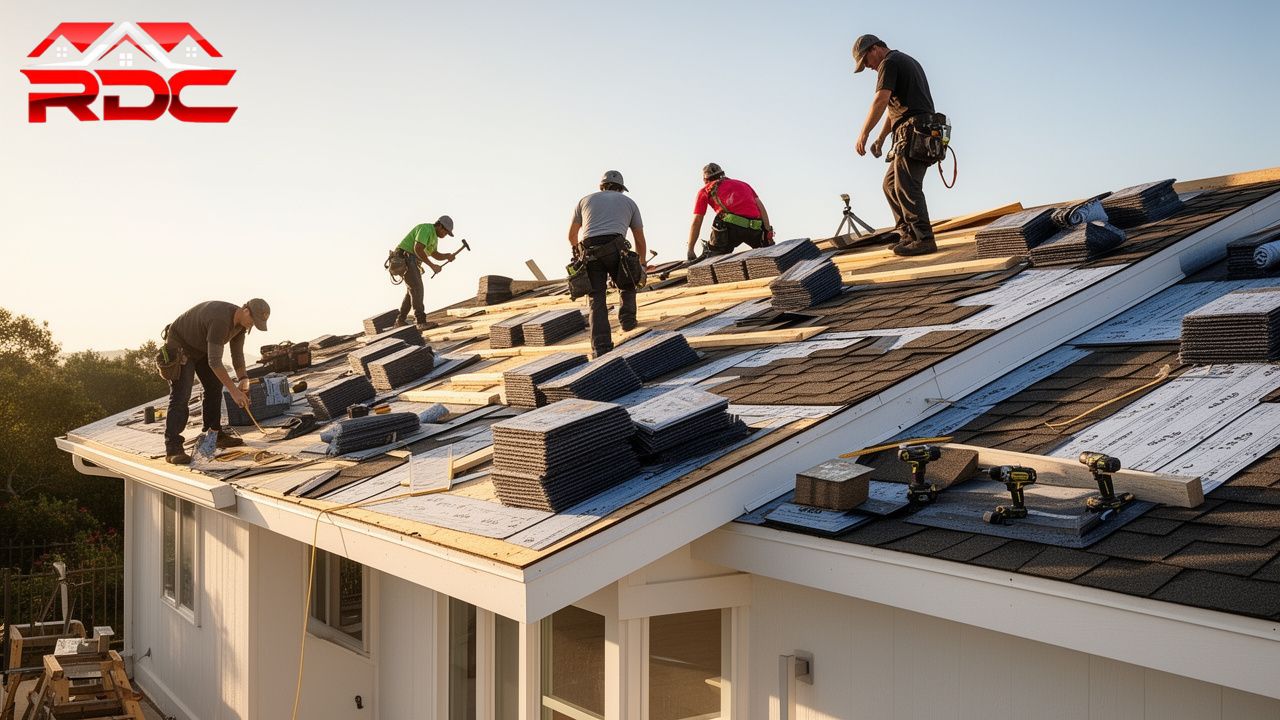
A residential roof installation involves a structured sequence of steps that replaces an aging or damaged system with a new, weather-tight structure. The process begins with meticulous property preparation and the removal of existing materials, followed by a thorough inspection of the wooden roof deck. Once the foundation is secured, installers apply specialized barriers for water protection, install new flashing, and lay the final roofing material, such as shingles or metal panels. The project concludes with a detailed site cleanup and a final quality inspection to ensure the system meets local building codes and manufacturer standards.
This guide provides a comprehensive look at every stage of a typical roofing project. Understanding these steps helps homeowners prepare for the noise, timeline, and physical changes that occur during a major home improvement task. Right Direction Contracting, LLC provides this information based on years of field experience to help property owners set realistic expectations and make informed choices regarding their home’s protection.
Roofing Preparation Guide
The success of a roofing project depends heavily on the work performed before the first shingle is ever removed. Proper preparation prevents property damage and ensures the crew can work safely and efficiently.
Property Protection and Staging
Installers start by placing heavy-duty tarps around the perimeter of the house. These tarps protect landscaping, flower beds, and decks from falling debris. Since a standard roof replacement can involve thousands of pounds of old materials, protecting the grounds is a priority. The team also designates a specific area for the dumpster and material delivery. Homeowners should move vehicles out of the driveway and away from the house to avoid accidental damage from falling objects or stray nails.
Material Delivery and Logistics
Materials usually arrive a day before or the morning of the project. This inventory includes shingles, underlayment, rolls of ice and water shield, and bundles of flashing. According to data from HomeAdvisor, the average residential roof replacement takes about one to three days, depending on the size and complexity of the structure. Having all materials on-site before the work starts prevents unnecessary delays.
Roof Project Stages
The actual installation is a labor-intensive process that moves systematically from the bottom of the roof to the peak. Each layer must be installed in a specific order to shed water correctly and ensure long-term durability.
Removal of Old Roofing Materials
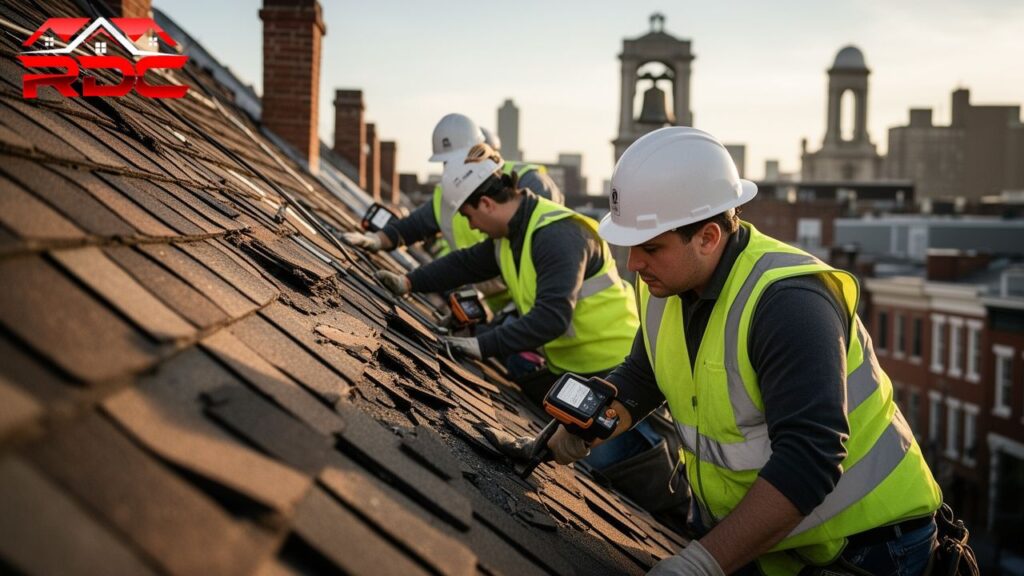
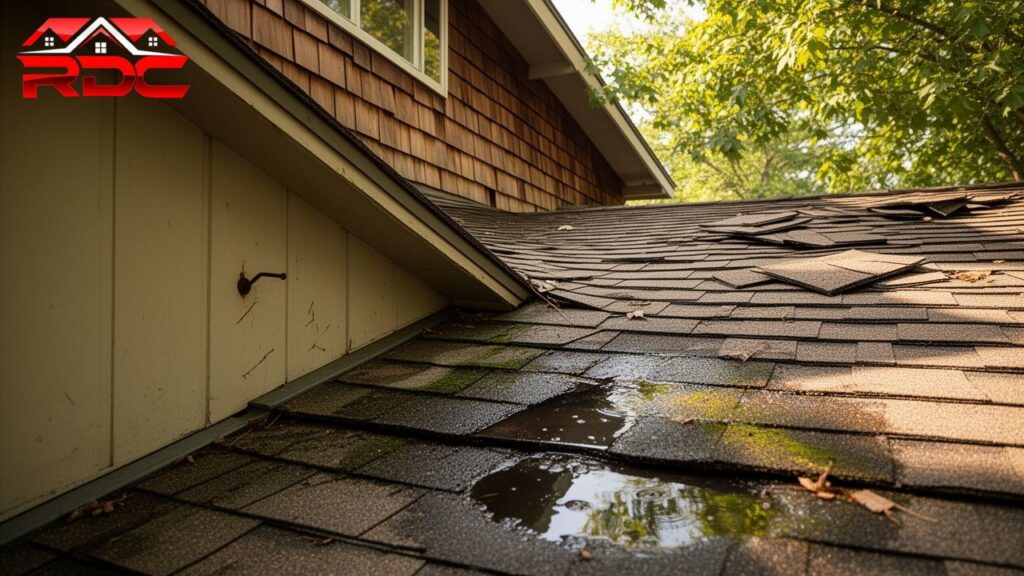
Except in rare cases where a second layer of shingles is permitted by local code, the old roofing must be completely removed. Crews use specialized “tear-off” forks to lift the old shingles and underlayment, exposing the wood deck underneath. This step is inherently noisy and creates a significant amount of dust and debris. Removing the old layers is the only reliable way to identify underlying issues like wood rot or structural sagging.
Deck Inspection and Repair
With the shingles gone, the wooden deck is fully visible. The team inspects the plywood or tongue-and-groove boards for soft spots, water stains, or mold. According to technical bulletins from the Asphalt Roofing Manufacturers Association, a roof is only as strong as the deck it sits on. If the wood is damaged, the crew replaces those specific sections to provide a flat, secure, nail-holding surface for the new materials.
Drip Edge and Underlayment Installation
Before the shingles go on, the roof needs several layers of protection. First, a metal drip edge is installed along the eaves to keep water from seeping under the shingles and rotting the fascia boards. Next, installers apply an ice and water shield. This self-adhering membrane is applied along the gutters, valleys, and around chimneys to prevent leaks caused by ice dams or wind-blown rain. Finally, the rest of the deck is covered with synthetic underlayment, which acts as a secondary water barrier.
Shingle Installation and Flashing
The visible part of the roof installation begins at the bottom edge. Installers use “starter shingles” to provide a base layer that prevents wind from lifting the first row. They then work their way up the roof in a staggered pattern to ensure proper drainage. Around chimneys, dormers, and where roof planes meet walls, the team installs metal flashing. This step is vital because these transition points are the most common areas for leaks.
Ridge Vents and Final Details
The peak of the roof requires special attention to ensure proper airflow. To allow the attic to breathe, installers cut a gap in the decking at the ridge and install a ridge vent. This allows hot air to escape, which extends the life of the shingles and lowers energy costs. The final step involves installing ridge cap shingles over the vent to seal the peak while still allowing ventilation.
Roofing Material Comparison
Once the installation process is understood, selecting the right material is the next priority. Different materials require different installation techniques and offer varied lifespans, as shown in the comparison below.
| Material Type | Estimated Lifespan | Installation Difficulty | Primary Benefit |
| Asphalt Shingles | 15 to 30 Years | Moderate | Cost-effective and versatile |
| Metal Roofing | 40 to 70 Years | High | Extreme durability and fire resistance |
| Wood Shakes | 20 to 35 Years | High | Natural aesthetic and insulation |
| Slate or Tile | 50 to 100+ Years | Very High | Longevity and classic appearance |
Smart Considerations Before You Move Forward
Before signing a contract or starting a project, property owners should evaluate several factors that influence the long-term performance of the new roof.
- Local Building Codes: Some municipalities limit the number of shingle layers allowed. Most modern standards require a full tear-off to ensure the structure can handle the weight of new materials.
- Ventilation Requirements: A roof is a system, not just a covering. Without proper intake and exhaust ventilation, heat and moisture build-up can warp the roof deck and void manufacturer warranties.
- Warranty Specifics: There are typically two types of warranties: the manufacturer’s warranty on materials and the contractor’s warranty on workmanship. Ensure both are clearly defined in your project scope.
- Weather Windows: While roofing happens year-round, shingles require specific temperatures to “seal” properly. A report from Forbes Home suggests that spring and fall often provide the ideal conditions for shingle adhesion.
Common Questions During the Process
Homeowners often feel uncertain once the physical work begins. Addressing these practical points regarding the on-site experience can reduce stress during the project.
How loud is the installation?
The process is very loud, involving constant hammering and the sound of heavy bundles of shingles being dropped on the roof deck. If you work from home or have pets that are sensitive to noise, it is often best to leave the property during core working hours.
Will there be a mess in the attic?
When the old roof is torn off, small pieces of felt paper, sawdust, and old nails can fall through the gaps in the roof deck into the attic space. It is a good idea to cover any valuable items stored in the attic with plastic sheets before the work begins.
How do crews find all the nails?
Roofers use large magnetic rakes to scan the grass and driveway several times a day. These magnets pick up the thousands of nails that fall during the tear-off and installation phases to ensure your property remains safe.
Frequently Asked Questions
Can a new roof be installed over an old one?
While “layovers” are possible in some areas, they are generally not recommended. Installing new shingles over old ones traps heat, adds excessive weight to the structure, and prevents a proper inspection of the deck. Most high-quality installations require a full removal of old material.
What happens if it rains during the installation?
Crews monitor weather apps closely. If rain is expected, they only remove as much as they can “dry in” with underlayment before the storm hits. If an unexpected shower occurs, the team uses large tarps to temporarily seal any exposed areas of the deck.
Do I need to be home for the installation?
It is not necessary to be home while Right Direction Contracting, LLC or any other team performs the work. However, you should be available by phone in case the crew discovers unexpected wood rot or structural issues that require your approval for repairs.
How long should the new roof last?
Longevity depends on the material chosen and the installation quality. Standard architectural shingles typically last 25 to 30 years if the attic is properly ventilated. Metal or tile roofs can last 50 years or more with minimal maintenance.
Final Steps for Your Roofing Project
The roofing timeline concludes with a thorough site inspection. Once the shingles are in place, the crew removes all debris, checks the gutters for granules or nails, and performs a final walkthrough. A quality project leaves the home looking better than it did before the work started, with no signs of construction debris left behind.
Property owners should take the time to review the finished work from the ground and ensure all questions are answered by the project lead. Evaluating the specific needs of your home, such as local wind speeds and shade coverage, will help you choose the right materials for a long-lasting result.
Professional Roof Installation Services
If your home requires a new roof, getting clear information is the first step toward a successful project. Right Direction Contracting, LLC focuses on providing transparent, high-quality residential roofing services. For detailed information regarding your specific roofing needs or to discuss the stages of your upcoming project, contact Right Direction Contracting, LLC at (215) 930-8390 or via email at rightdirectioncontracting@gmail.com. Accurate planning and professional execution ensure your home stays protected for decades.
Sources
- HomeAdvisor – Detailed breakdown of roofing costs and timelines for residential properties.
- Asphalt Roofing Manufacturers Association – Technical resources and industry standards for asphalt shingle installation and deck preparation.
- Forbes Home – Expert advice on timing and material selection for home roofing projects.