Summarize with
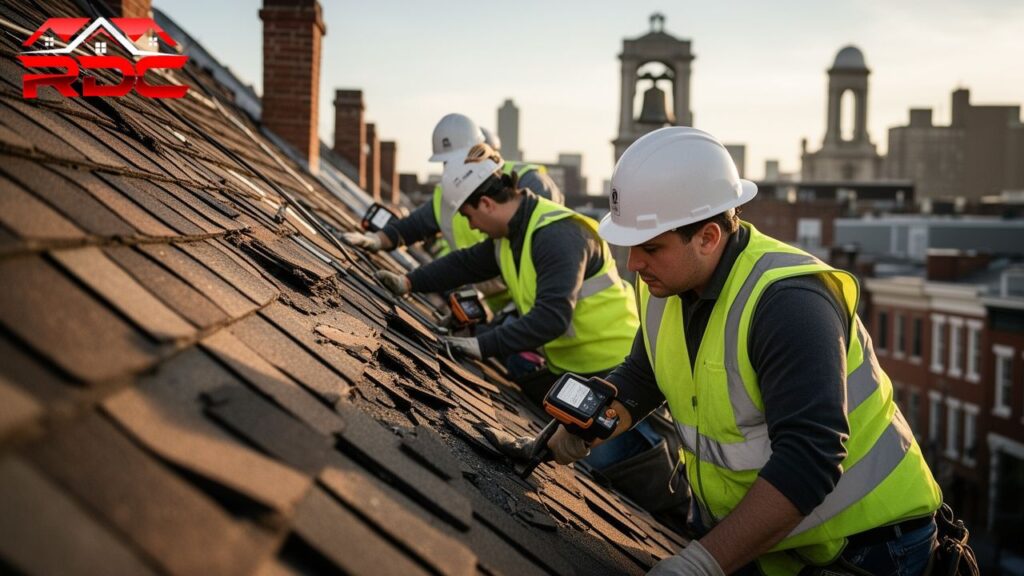
While explaining to a homeowner what a roof installation actually entails, the first thing mentioned is not the shingles. It is the deck underneath them. Most people think of a re roof as tearing off the old one, nailing down the new one, and then it is done. That is the short version. In between those two steps is where the work happens that decides whether this roof makes it fifteen years or starts leaking by year three.
Below is the roof installation process, the way to walk a homeowner through it on-site, plus the mistakes most often made on re-roofs and a few things worth checking before a crew shows up with a dumpster.
Tear Off vs. Roof Over: The Decision That Shapes Everything Else
The first real decision on any re roof is whether the old roofing comes off or a new layer goes on top of it. A few jurisdictions still allow a second layer of asphalt shingles over an existing one, as long as the deck is sound and it is within code. Do not recommend it, and most licensed contractors know and feel the same way. Understanding the full Roof Installation Process can help homeowners see why removing old materials is often the better approach.
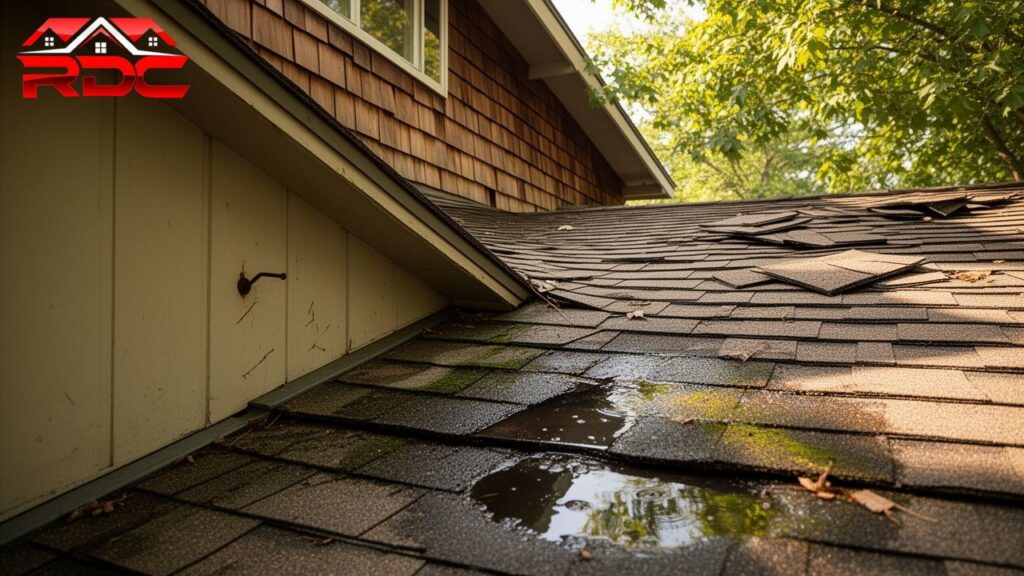
Here is the problem with going over an existing roof: whatever’s wrong underneath stays hidden. Soft spots in the decking, old water stains, flashing that is already failing, all of it gets buried under new shingles with no way to check on it again. And it adds weight. On an older home with rafters sized for one layer, that extra load matters more than people think.
The EPA’s guidance on construction and demolition materials points out that asphalt shingles make up a sizeable chunk of C&D waste nationally, which is part of why some crews now send usable tear off material to a shingle recycling facility instead of the landfill.
What Happens During Roof Installation
Once the decking’s exposed, everything else gets built in layers. Skip one of them, even one nobody will ever see again, and that’s usually where the early failures trace back to. According to the National Roofing Contractors Association (NRCA), a properly installed roofing system depends on the correct combination of decking, underlayment, flashing, ventilation, and roofing materials working together as a complete system. That’s why every layer deserves the same attention during installation.
- Decking repair: Any board that’s soft, delaminated, or stained from an old leak comes out and gets replaced before anything else happens. Nail new shingles over bad decking and you have likely voided the warranty before the job’s even finished.
- Ice and water shield: This self-adhering membrane goes down first at the eaves, valleys, and around anything sticking through the roof. Up north, it’s the layer standing between you and an ice dam backing water under the shingles in February.
- Underlayment: Covers the rest of the deck as a backup water barrier. Most crews use synthetic now instead of felt, since it holds up a lot better if rain hits the deck before the shingles go on, which happens more than people assume.
- Drip edge and flashing: New metal flashing at the eaves, rakes, chimney, and sidewalls sends water away from the seams that fail most. Reusing the old flashing to save a step is common, and it’s also where a lot of callbacks trace back to.
- Field shingles: Installed eave to ridge, following the manufacturer’s nailing pattern to the letter. Get the nail placement or count wrong and the wind warranty is void, no matter how good the shingle is.
- Ridge vents and ventilation: Ridge vents working with soffit intake let attic heat and moisture escape. That’s what keeps shingles lasting their full lifespan instead of cooking from underneath in July.
That’s the roof installation checklist we actually work off on-site, even though a homeowner won’t see most of it again once the shingles go down.
Permitting and Weather: The Factors Homeowners Don’t See Coming
Permits end up shaping the roof installation timeline more than the labor does, honestly. A lot of municipalities want a mid job inspection of the decking and underlayment before shingles cover it up, then another one after the job’s done. Skip that inspection to save a day, and you’re risking a red tag and doing part of the work over.
Weather plays into it too. Shingles seal through heat, so on a cold-weather install, we are sometimes hand-sealing every tab because the factory adhesive strip won’t bond on its own below a certain temperature. That’s not something you want to figure out halfway through a job. A crew that knows the local climate plans around it from the start instead of running into it mid project.
Code Compliance and Safety Aren’t Optional Line Items
There’s a reason roofing sits near the top of construction injury numbers, and it’s also why building departments pay close attention to this trade. Inspectors are usually looking at nailing patterns, underlayment coverage, and flashing at the valleys and penetrations, because that’s where a roof actually fails in high wind. A licensed, insured crew has paperwork to back both up, and you should feel fine asking to see it before anyone signs anything.
New Roof Installation Steps | Start to Finish
- Site prep. We cover the landscaping, protect the gutters, and lay out a plan for a magnetic sweep after tear off so stray nails don’t end up in your lawn or your tires.
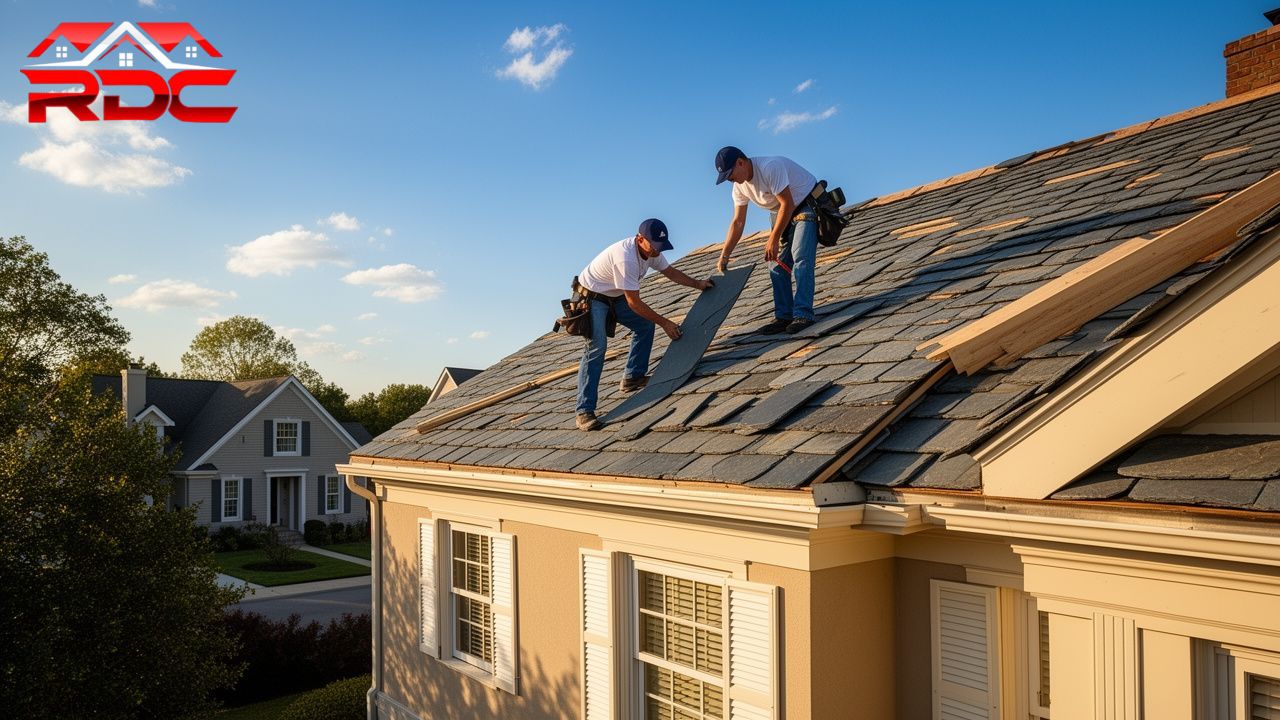
- Tear off. Old shingles, underlayment, and flashing come off down to bare decking.
- Deck inspection and repair. Any damaged sheathing gets found and swapped out before we put anything new down.
- Underlayment and ice and water shield. These water barrier layers go on in the order your local code and climate call for.
- Flashing. New metal flashing goes in at every seam that could let water through, not just the ones you’d notice from the ground.
- Shingle installation. Field shingles go on per the manufacturer’s spec, working from the eave up to the ridge.
- Ridge vent, cleanup, final walk. Ventilation gets finished, we run the magnetic sweep one more time, and then we walk the finished roof and take photos.
Bonus tip: Ask to see the flashing before the shingles cover it up. A contractor who’s proud of the work will walk you up there or send photos without hesitation. One who dodges the question probably cut a corner on that step.
Common Roof Installation Mistakes
Reusing old flashing instead of replacing it is probably the shortcut most, and it’s nearly impossible for a homeowner to catch since it’s buried under new shingles by the time anyone would notice. Nail depth is another one. Too shallow and wind pulls the shingle right off. Too deep and it cracks the shingle and breaks the seal, and neither one shows up until the next storm hits.
Ventilation gets overlooked more quietly. Plane the best roof schemes can flop because the classical layer below the roof is maintaining heat and dampness that the old exits were not designed for. Point out to the contractor right away that you have ridge and soffit vents, and if you do not, ask them straight out if they are sufficient for the new type shingles being installed as some are more restrictive in terms of ventilation requirements on warranties.
Things to Consider Before Roof Installation
Manufacturer certification
Some shingle brands only back their strongest warranty when the crew installing it has gone through factory training on that exact product line. Ask which manufacturers they’re certified with, not just which brands they carry.
A written scope of work
The contract should spell out underlayment type, flashing replacement, ventilation work, and cleanup, not just “install new roof” on a single line. Vague scopes are usually where the arguments start once the tear off reveals something nobody planned for.
Local wind and code requirements
Coastal places and high wind zones frequently call for firm nailing patterns or specified base layer ratings. A team that does not know the local code can put on a roof that legally neglect inspection, even if the workmanship looks fine.
Warranty terms, material and labor
These are two separate things. The material warranty covers the shingles themselves; the labor warranty covers whether the crew installed them correctly. Know how long each one runs.
Proof of licensing and insurance
Get actual documentation, not just someone’s word for it. If something goes wrong on your roof and the crew isn’t insured, that liability lands on you.
Frequently Asked Questions About Roof Installation
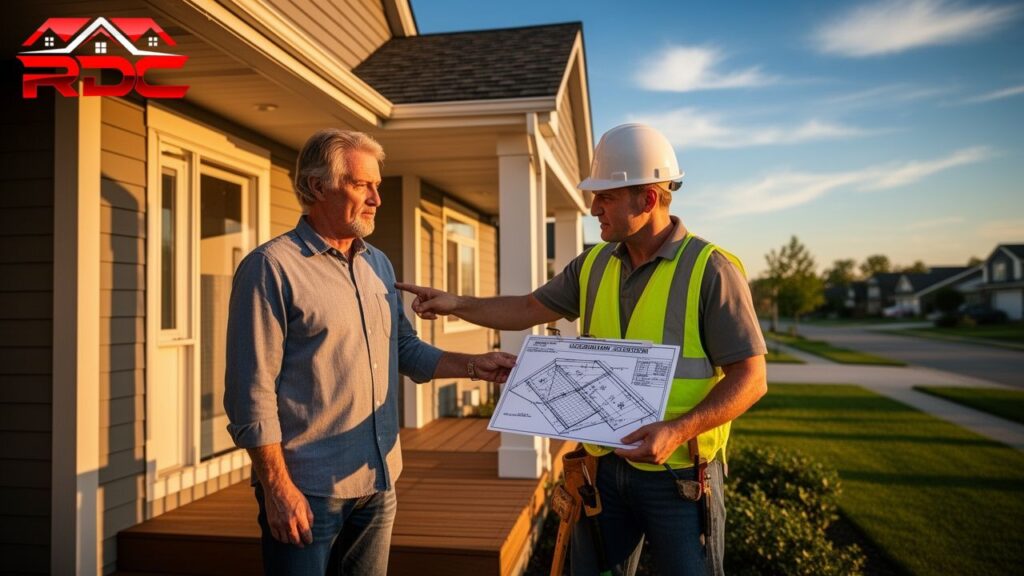
A lot of the homeowners want to know what to expect during roof installation before they lock in a start date, usually because they’re planning around the noise or a blocked driveway for a couple of days. Here’s what comes up most.
How long does a roof installation typically take?
Most single-family homes run one to three days for the install itself. Weather delays, unexpected deck repairs, or just a bigger roof can push that out.
Do we need to be home during the installation?
Not required, but stay reachable. If the crew finds decking damage they didn’t expect, someone needs to make a call on repairs before work can keep going.
Will my ceiling get damaged from the vibration?
It is possible, especially with older drywall or plaster. Minor cracking can show up from the nailing. A crew that knows what they’re doing works carefully around light fixtures and finished attic space, but it’s not a zero-risk situation.
What is the difference between a roof-over and a full roof replacement process?
A roof-over adds new shingles on top of what’s already there without checking the decking underneath. A full replacement process strips it down to bare wood, which is the real way to catch rot or damage hiding underneath.
Do we need a permit for a roof replacement?
In most places, yes. Skipping it can come back to bite you later too especially if the work isn’t on record when you go to sell the house.
Key Takeaways for a Successful Roof Installation
In my experience, the shingle brand is not what determines whether a roof makes it to the end of its warranty. It’s whether the decking, underlayment, flashing, and ventilation got handled right, and those are exactly the layers you can not go back and check once the job’s finished.
Get photos during the process, confirm the manufacturer certification, and put the scope of work in writing. Those three things change the outcome more than any shingle you pick.
Work with a Trusted Roofing Contractor
Right Direction Contracting, LLC handles the full roof installation process start to finish, from the initial deck inspection through final ventilation and cleanup, including the permitting and inspection steps that trip up most homeowners. Contact Right Direction Contracting, LLC at (215) 930-8390 or email rightdirectioncontracting@gmail.com and we will walk through your roof, timeline, and material options before anything gets scheduled.
Sources
- Occupational Safety and Health Administration, “Fall Protection in Construction,” 29 CFR 1926.501.
- U.S. Environmental Protection Agency, “Sustainable Management of Construction and Demolition Materials.
- International Code Council, building and residential code resources.